Discord
Download and Installation
Find and dl the client (Mac OSX, Windows, Linux):
Once downloaded, launch and install Discord.
You have to register with Discord, but it doesn’t have to be your WWIIOL username and password
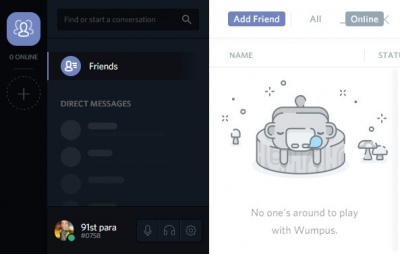
After the installation, Discord should look like this:
World War II Online Discord Server: https://discord.gg/wwiionline
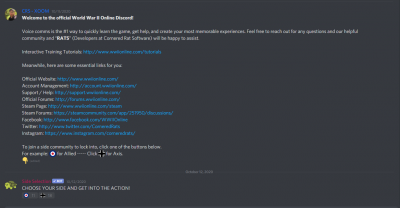
Now it looks like this:
Pick a side to start using that sides discord. NOTE: Sides are separated from each other, and while it is possible to switch between them, there is a time lag.
Settings
On the bottom left side you find the icon for the settings:
click on it and setup Discord.
Account: setup displayed name and picture
Nitro: unimportant
Connections: unimportant
Friends: leave it at Everyone
Text & Images: leave it the way it is
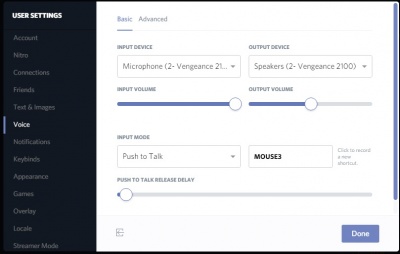
Voice: setup your Push to Talk
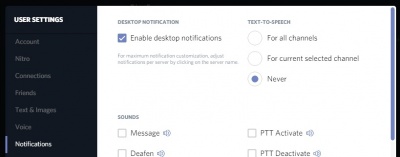
Notifications: personal preference, but I would turn
TEXT-TO-SPEECH on Never or you will hear
each text messages spoken by a computer
Settings II Keybinds: you can add other buttons
e.g. 2nd Push-To-Talk or Deafen
I would add “Toggle Deafen” to have the
possibility to mute the chat (e.g. capping).
Appearance: just look and feel
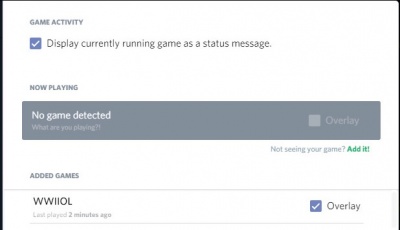
Games: Here you can set Overlay for BGE
- start BGE
- click Add it! (green)
- chose WWIIOL
- click on Overlay
Overlay: Here you can set the button to see
additional functions in-game
(Important if you want to move the overlay)
Locale / Streamer / Security: unimportant
Moving the Overlay:
- Start Discord and WWIIOL
- Press the chosen “Toggle Overlay Lock” (see Overlay)
- Alt Tab to get out of WWIIOL lock
- move Overlay with mouse (you’ll notice a delay), so move it and wait a bit. Be patient!
- Once you have the desired position, press “Toggle Overlay Lock” key’s again.
